
Quick start
This guide takes you from a new organization to an acknowledged test alert. Do the steps in order: a source needs an escalation policy, and a policy is easier to build once a roster exists.
1. Create your organization
Section titled "1. Create your organization"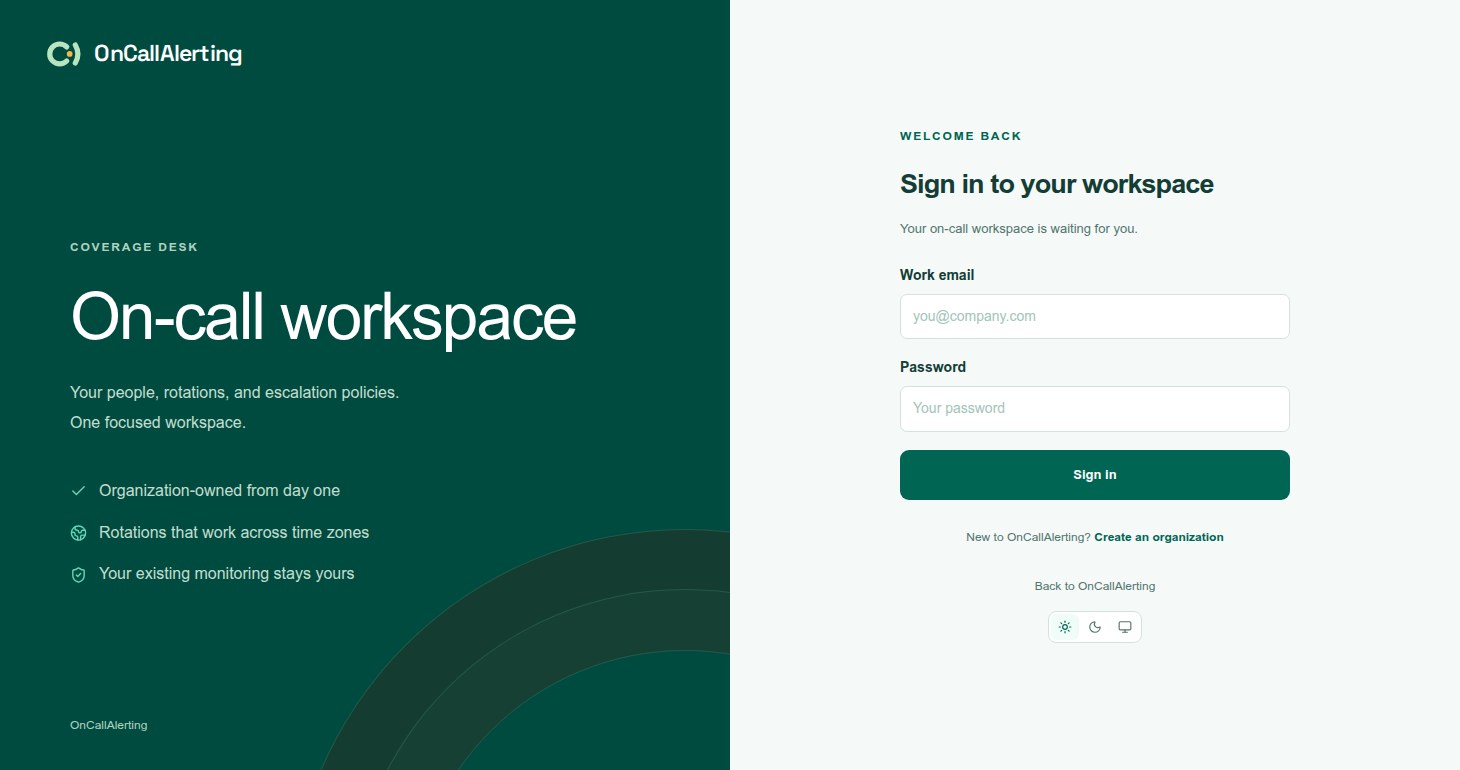
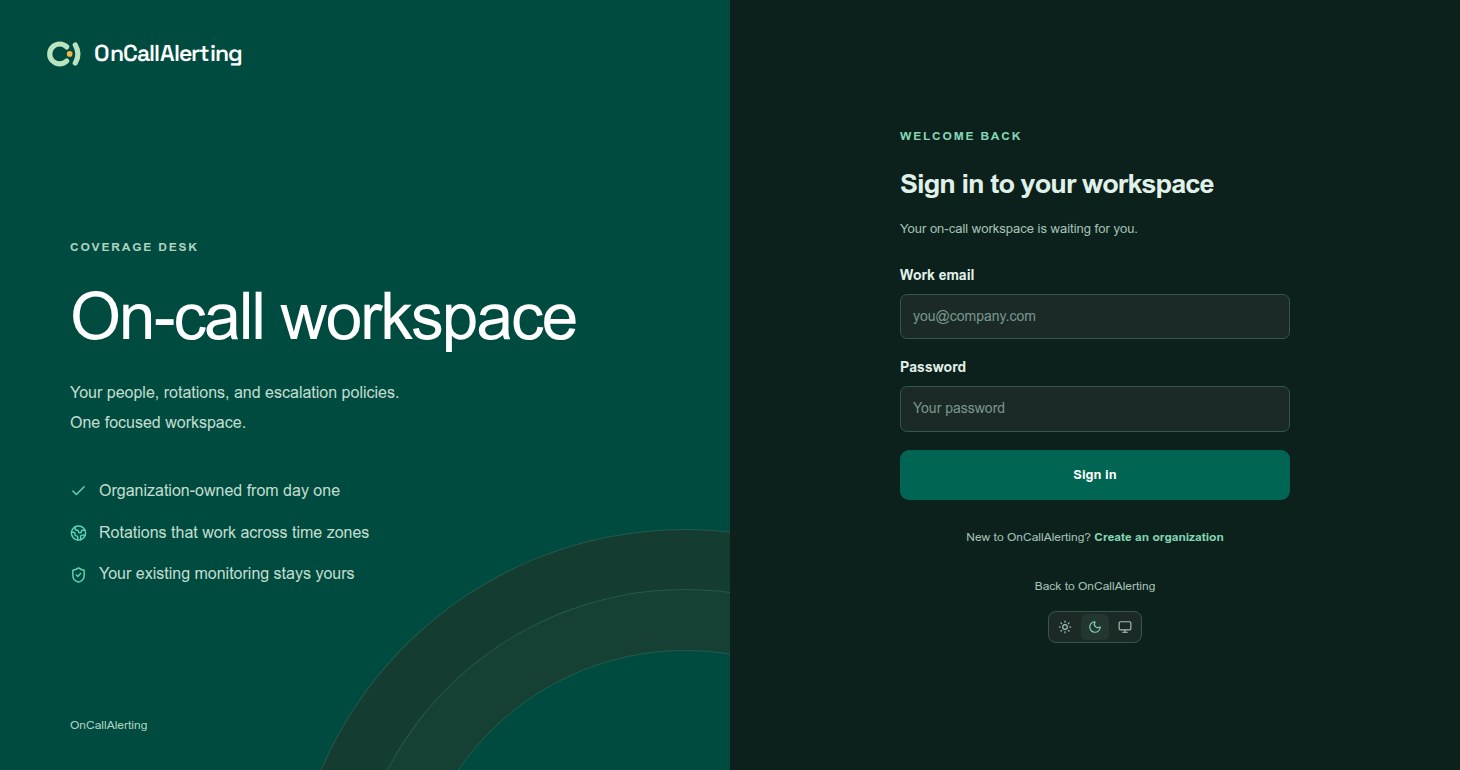
- Open oncallalerting.com/workspace and choose Create an organization under the sign-in form.
- Enter Your name, Organization name, Work email, a Password of 12-72 characters and Your timezone.
- Select Create organization.
You are now the primary owner. The primary owner can do everything an administrator can, and is notified when an escalation level finds nobody on call.
2. Invite teammates
Section titled "2. Invite teammates"- Open Organization and select Invite teammate.
- Enter your teammate's email and choose an Organization role: Member can view, acknowledge and resolve; Administrator can manage the workspace.
- Select Create invitation and copy the link.
- Send the link to your teammate yourself. OnCallAlerting does not email it.
The link works once and expires after 72 hours. Your teammate opens it, enters their name, a password and their timezone, and selects Accept invitation. Until then they appear under Pending invitations and cannot be added to a roster. See members and roles.
3. Create a roster
Section titled "3. Create a roster"- Open Rosters and select Create roster.
- Enter a Roster name, such as "Platform engineering".
- Under Rotation type, keep Simple rotation. Choose Follow the sun if your team works in several timezones; see follow the sun.
- Set Rotate every (Day, Week, Two weeks or a custom number of days), the Start date, the Handover time and the Rotation timezone.
- Under People in the rotation, tick your teammates, then use the arrows to set the order.
- Select Create roster.
The roster card shows who is On call now. More options, such as layers, restrictions and substitutions, are in rosters.
4. Create an escalation policy
Section titled "4. Create an escalation policy"- Open Escalation policies and select New policy.
- Enter a Policy name.
- Level 1 starts with your first roster. Keep it, or use Add a roster or person to change it.
- Choose the Notification channel: In-app inbox, or Slack + in-app once Slack is connected under Organization.
- Set the wait before level 2 in minutes.
- Select Add escalation level and add a named person as the fallback.
- Select Create policy.
The preview beside the form, It follows this path, shows who each level notifies right now. See escalation policies for repeats and resolving after the last round.
5. Connect an alert source
Section titled "5. Connect an alert source"- Open Integrations, select Add integration, and choose your monitoring tool.
- Enter a Name and choose the Escalation policy from step 4.
- Select Add integration.
- Copy the secret link, or the integration key and URL for a PagerDuty- or Opsgenie-compatible source. It is shown only once.
- Paste it into your monitoring tool. The dialog shows an example for the tool you picked.
See alert sources and native webhooks for each tool's setup.
6. Send a test alert and acknowledge it
Section titled "6. Send a test alert and acknowledge it"- In Integrations, select Send test on your source.
- Open Incidents. A warning incident called "Test alert from" followed by your source name is open, and level 1 of your policy has been notified.
- Open Your inbox to see the notification, and its Slack delivery status if the level uses Slack.
- Open the incident and select Acknowledge.
OnCallAlerting confirms: "Incident acknowledged. Escalation stopped." Nobody on a later level is notified. Select Resolve incident to close it.
Where to look next
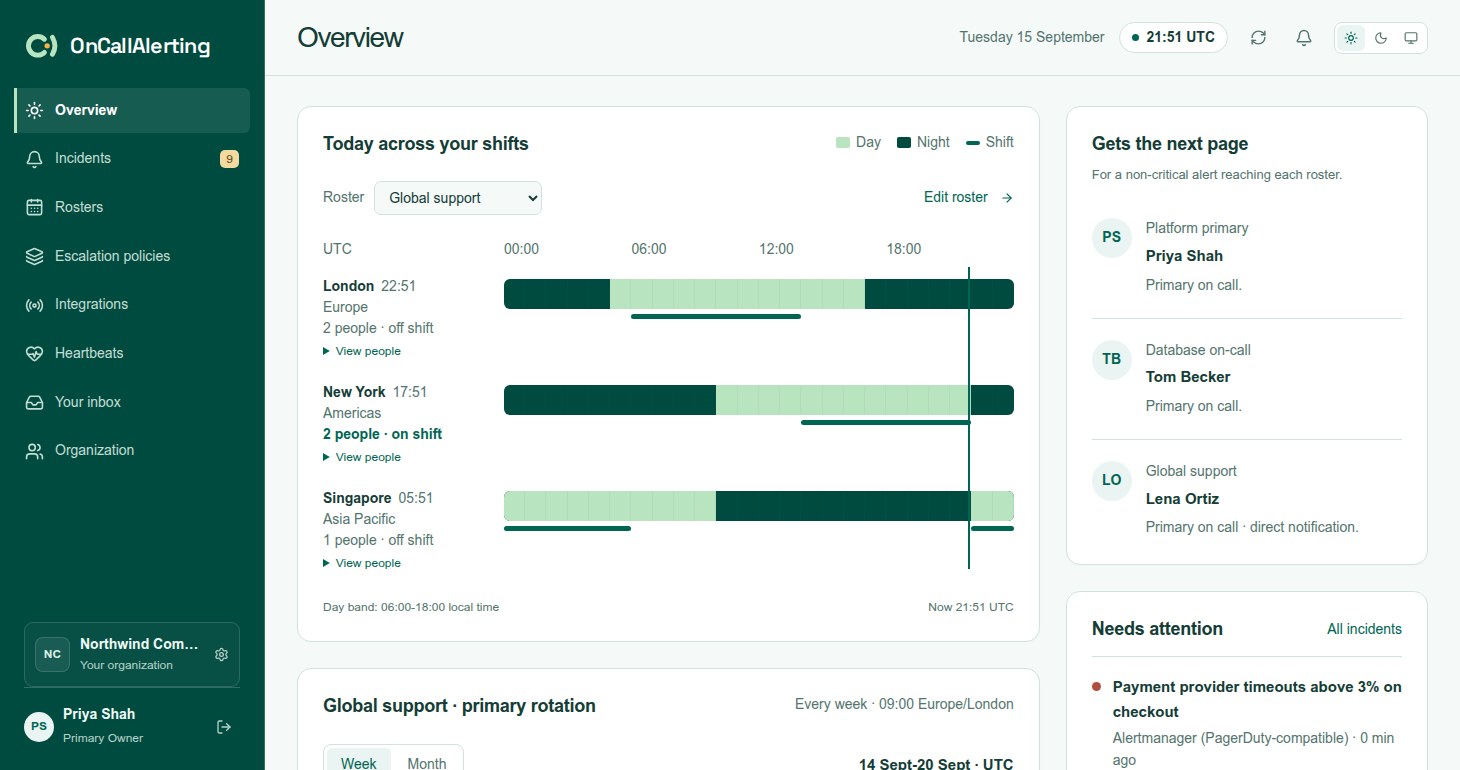
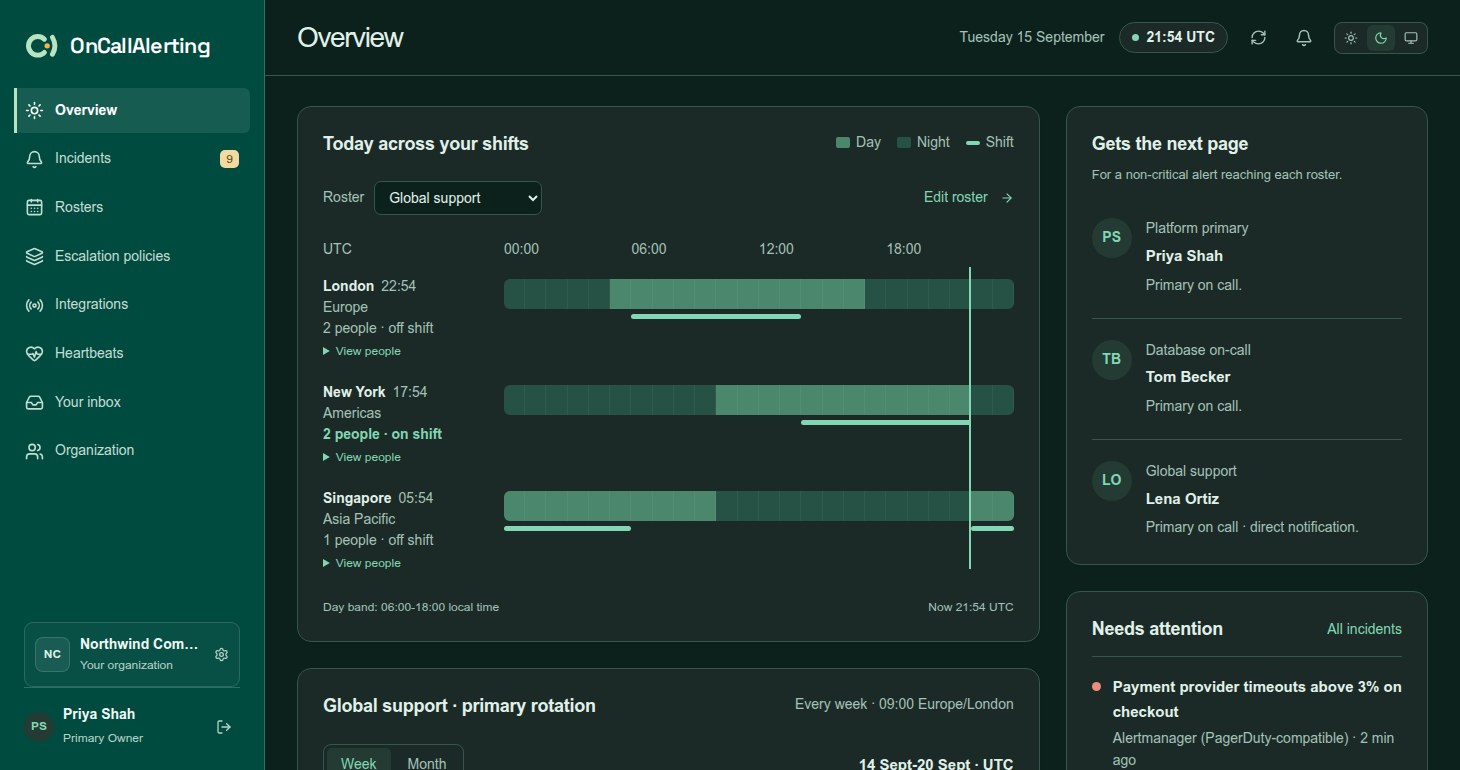
Section titled "Where to look next"The Overview page shows who is on shift today, who gets the next page for each roster, and the open incidents that need attention.